How to Make Quick Compost Without an Expensive System
Making your own compost is the best way to create good soil to grow healthy plants, and delicious food. Your vegetable crop will demand a lot from the soil you are growing it in. The only way to get delicious food is to have deliciously rich soil. I know this, because I got lazy and stopped making my own compost. Then my veggie garden told me that it wasn’t happy.
These days we have a fancy, massive compost bin, but from our experience, it takes too long to end up with a constant useable supply of soil. For the most part we have gone back to the good old cheap method that we used when living in a tiny little semi. We only had room and budget for a few 60L rubbish bins. This is what this post is about, but first, lets learn a little bit about composting.
Composting is a means of turning food waste into nutrients (food) for plants. If something has previously been living, then you can compost it. However, as a general rule of thumb meat and citrus aren’t composted. They take too long to break down and can attract vermin.
My latest appreciation for compost is the added benefit of not contributing to landfill. To help your garden grow, and our planet thrive make sure you keep a collection bucket on the bench top when you are cooking. This way food scraps don’t end up in your rubbish bin. At our house we constantly have old 2L yoghurt tubs on rotation which are for the chicken scraps, worm farm and compost bin.

The Secret to Fast Compost
The secret to making compost fast is to build lots of thin layers of green and brown materials. If you have time cut everything up small to give the worms a fighting start to process everything.
Some general rules to keep in mind are that the compost heap needs to be kept moist, but not too wet. Most of the time kitchen scraps contribute enough moisture. If you have chickens or a worm farm to share the vegetable scraps, you may need to water your bin occasionally. A compost heap that smells bad is usually too wet. So add some more dry brown material to balance it out. You want the mix to be a bit like a wet sponge. Remember, there is nothing wrong with trial and error, that is how we learn.
Sometimes making the first batch of compost can be daunting. Just take my “what’s the worst thing that can happen?” approach and get started. Your garden will thank you, and in turn your tastebuds will too.
My latest mix wasn’t so much of a planned creation. It was a means of dealing with everything that was laying around the backyard. I believe this method of dealing with ‘waste’ around your home is perfect. There were dry leaves and small sticks to make a great base layer to allow aeration. The chicken coop bedding was ready for turning over. We also had a bit of pre-made soil ready to add as a starter full of microorganisms and worms.
We always have kitchen scraps in a bucket for the chickens and worms. So I just gave a 2L yoghurt tub full of food scraps to the compost bin instead. The chickens were cheering as they got freshly picked silverbeet leaves from the garden.
Layering the Compost Bin
The first layer needs to encourage ventilation so you don’t end up with a wet sloppy mess. You want small sticks that will allow for airflow. Some brown leaves in amongst it won’t hurt either. There is no need to be too precious and waste time sorting through things.
Avoid large sticks as they won’t break down quickly, and don’t make great growing medium for vegetables. Remember, this is about working harmoniously with your environment.
Layer Two
For the second layer, add whatever farmyard manure you can get; chicken, sheep, cow or horse poo all work well. Luckily for us we have chickens, and their bedding needed changing at the same time that we had lots of leaves hanging around. So the chicken poo and feathers went in the pile.
Layer Three
For the third layer add newspaper, it is such an easily available dry matter. It also feels good to reuse it rather than recycle. I must confess that I feel super good about our newspapers because Grandma reads them before passing them on to me. Then I reuse them in the garden. I’m such a good little greenie sometimes.
Fourth Layer
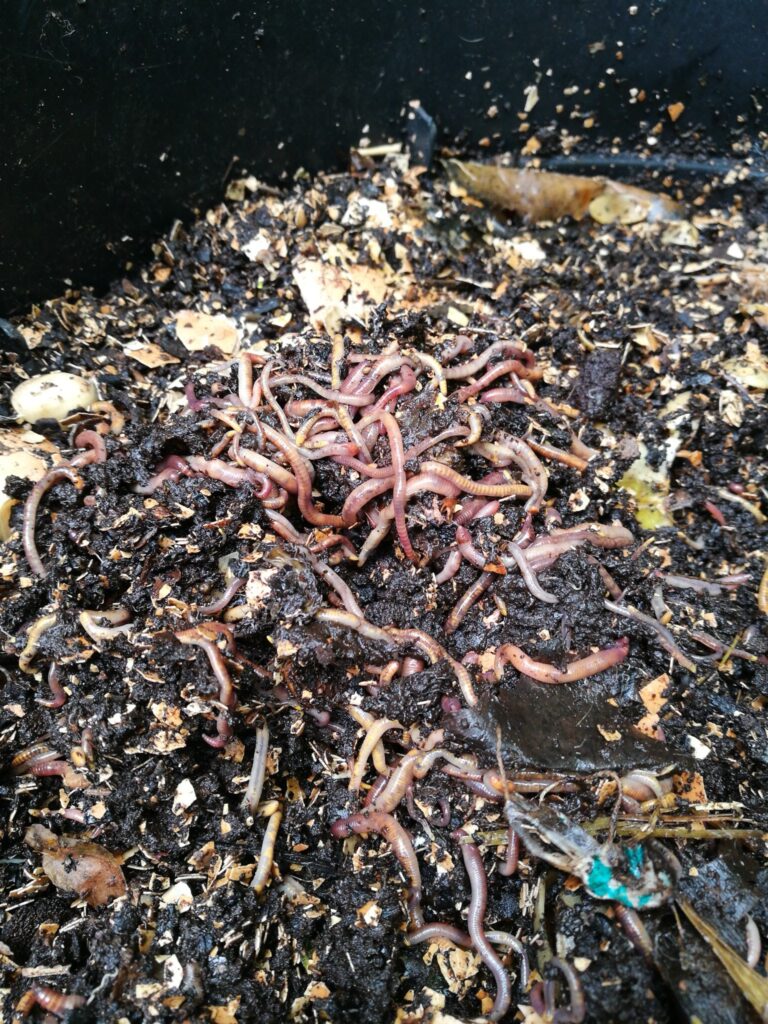
The fourth layer of compost is where I add some old rich soil. Lots of references will tell you that this part isn’t necessary. However, from my experience and impatience, I’ve found that this added element speeds the whole process along. It also adds micronutrients and worms that I will want to add to my vegetable garden later.
Final Layer of Compost
The final layer of the compost bin is where you add food scraps. Now you can continue to add food scraps on a daily basis for about a week, whilst stirring the bin. For the fast results we are aiming for, I would start another bin for any additional food scraps after that. Stir the food scraps in amongst the top layer of soil and stir every day if you can.
In approximately six weeks, or less if you’re super diligent, you will have beautiful, rich soil for your garden. For reliable results it is important to oxygen-turn the compost every three days at a minimum. My best mixes were made when I aerated them every day as they were right outside my kitchen door. The more frequently you make compost the more familiar you will become with how much effort you want to put into it to get the results.
If you have the space and time for compost to fester in a large bin then get yourself a Tumbleweed Compost Tumbler. I love this thing. And I’m not affiliated to say that.
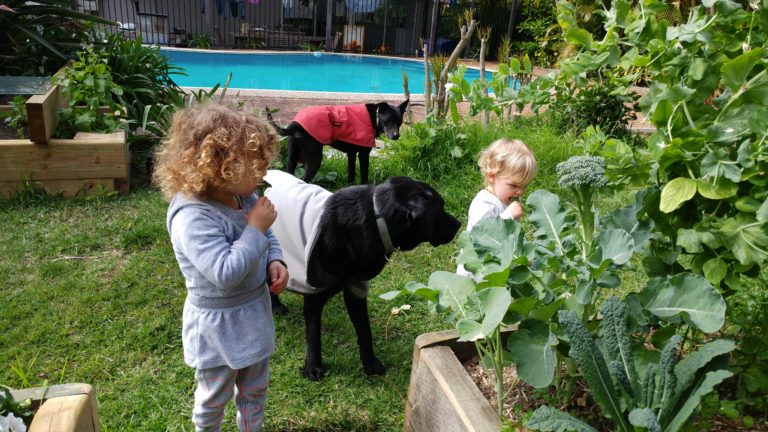
You can read more about my Backyard Farming adventures by clicking the link.